Mastering the art of shingle installation can enhance both your roofing skills and the longevity of the roof itself. From understanding the Roofing installation process to preparing the roof deck and choosing the right materials, this blog guides you through the steps of installing roof shingles. It covers tools, underlayment, flashing, and even cost considerations, all while highlighting how avoiding common roofing mistakes and being mindful of environmental impact can make a difference.
When it comes to installing a roof that can withstand the elements, the method you choose for installing roof shingles plays a key role in its durability and longevity. Whether you’re a seasoned pro or a beginner, mastering the shingle installation process is a valuable skill that can make your roofing projects stand out. Here’s everything you need to know to get started.
Understanding Shingle Roof Installation
Shingle roofs are a popular choice for homeowners due to their affordability, durability, and variety of styles and colors. However, proper installation is key to reaping the full benefits of shingle roofs. The installation process involves several crucial steps:
- Roof Deck Preparation: This involves ensuring the roof deck is structurally sound, flat, and free of debris.
- Underlayment and Flashing: A waterproof underlayment is installed to protect the roof deck from moisture infiltration. Flashing is then applied around chimneys, vents, and other roof penetrations to prevent leaks.
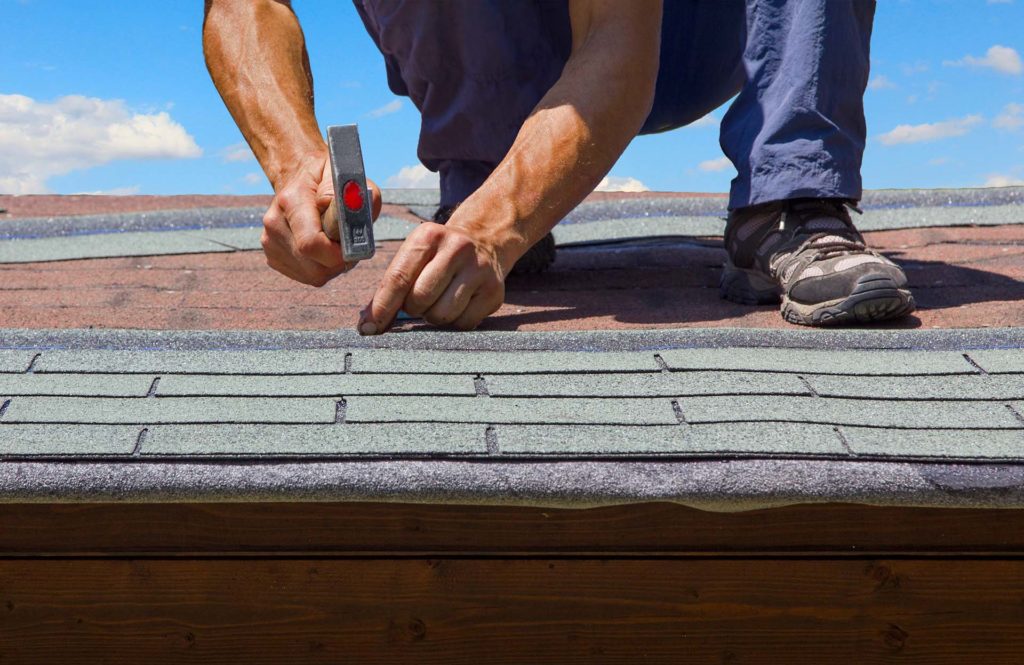
- Shingle Installation: Shingles are meticulously layered starting from the bottom edge of the roof and working upwards. Proper ventilation is also incorporated during shingle installation.
- Final Touches: Once the shingles are secured, the roof edges are trimmed, and any leftover materials are removed.
Tools and Materials Needed
Before diving into the installation process, make sure you have the necessary tools and materials on hand. Here’s a basic checklist to get you started:
- Safety Gear: Safety first! A sturdy ladder, work gloves, safety glasses, and a respirator are essential.
- Shingles: Choose the shingle type that best suits your roof’s pitch and your aesthetic preferences.
- Roofing Nails: Select the appropriate nail size and type for your chosen shingles.
- Underlayment: Waterproofing felt or synthetic underlayment are commonly used options.
- Flashing: Metal flashing comes in various widths and is used around roof penetrations.
- Roofing Tools: A hammer, utility knife, shingle gauge, chalk line, and pry bar are some essential tools.
Installing Underlayment and Flashing
Underlayment acts as a secondary layer of defense against water infiltration. It’s crucial to install the underlayment correctly, following the manufacturer’s instructions. Overlapping the underlayment properly and sealing any seams are vital steps to prevent leaks.
Flashing plays a similar role around chimneys, vents, and other roof protrusions. Metal flashing is meticulously cut and bent to fit around these areas, creating a watertight seal. Special attention to detail is required when installing flashing to ensure no weak spots remain.
Avoiding Roofing Installation Mistakes
Shingle installation may seem straightforward, but there are potential pitfalls to avoid. Here are some common mistakes to keep an eye out for:
- Improper Ventilation: Without adequate ventilation, moisture can get trapped under the shingles, leading to rot and mold growth.
- Uneven Shingle Application: Uneven shingle application can create gaps and weak points, making the roof susceptible to leaks.
- Incorrect Nail Placement: Using the wrong size or type of nails, or not nailing shingles properly, can compromise the roof’s integrity.
- Neglecting Flashing: Any gaps or improper installation around flashing can be a recipe for leaks.
By being mindful of these potential mistakes and following the proper installation procedures, you can ensure a long-lasting and trouble-free shingle roof.
Cost Considerations for Shingle Roof Installation
The cost of shingle roof installation can vary depending on several factors, including:
- Roof Size and Complexity: Larger and more complex roofs will naturally cost more to shingle.
- Shingle Material: Premium shingle materials will typically cost more than basic asphalt shingles.
- Labor Costs: The cost of labor will vary depending on your location and the roofing contractor you choose.
- Local Building Permits: Factor in any permit fees required by your local municipality.
Obtaining quotes from several qualified roofing contractors is the best way to get an accurate estimate for your specific project.
Warranty Options
Warranties can provide peace of mind when investing in roofing materials. Most manufacturers offer warranties that cover defects in materials for varying periods—often ranging from 20 to 50 years for asphalt shingles. However, it’s important to read the fine print; some warranties may only cover certain conditions or require professional installation to remain valid.
When selecting shingles, inquire about warranty options to ensure you’re making an informed decision that protects your investment.
Conclusion
Mastering shingle installation techniques takes time and practice, but the results are worth it. By following the right steps, understanding the materials, and avoiding common mistakes, you can install roof shingles that stand the test of time. From tools to cost considerations and environmental impact, every detail plays a part in creating a sturdy, durable roof.
If you’re looking for expert help in mastering shingle installation or starting your next roofing project, look no further than Laguna Bay Developing. Their professional team is ready to guide you through every step of the roofing process, ensuring your roof is in good hands.